Table of Contents
Learn how to connect cPanel Webmail on Your Android Phone
Before we start configuring webmail to phone. We need to create a email in cPanel under e-mail account.
Just go to your cPanel by login to Heroxhost Client area. Now create a professional email.
Below is exactly how to configure your Android phone to connect cpanel emails.
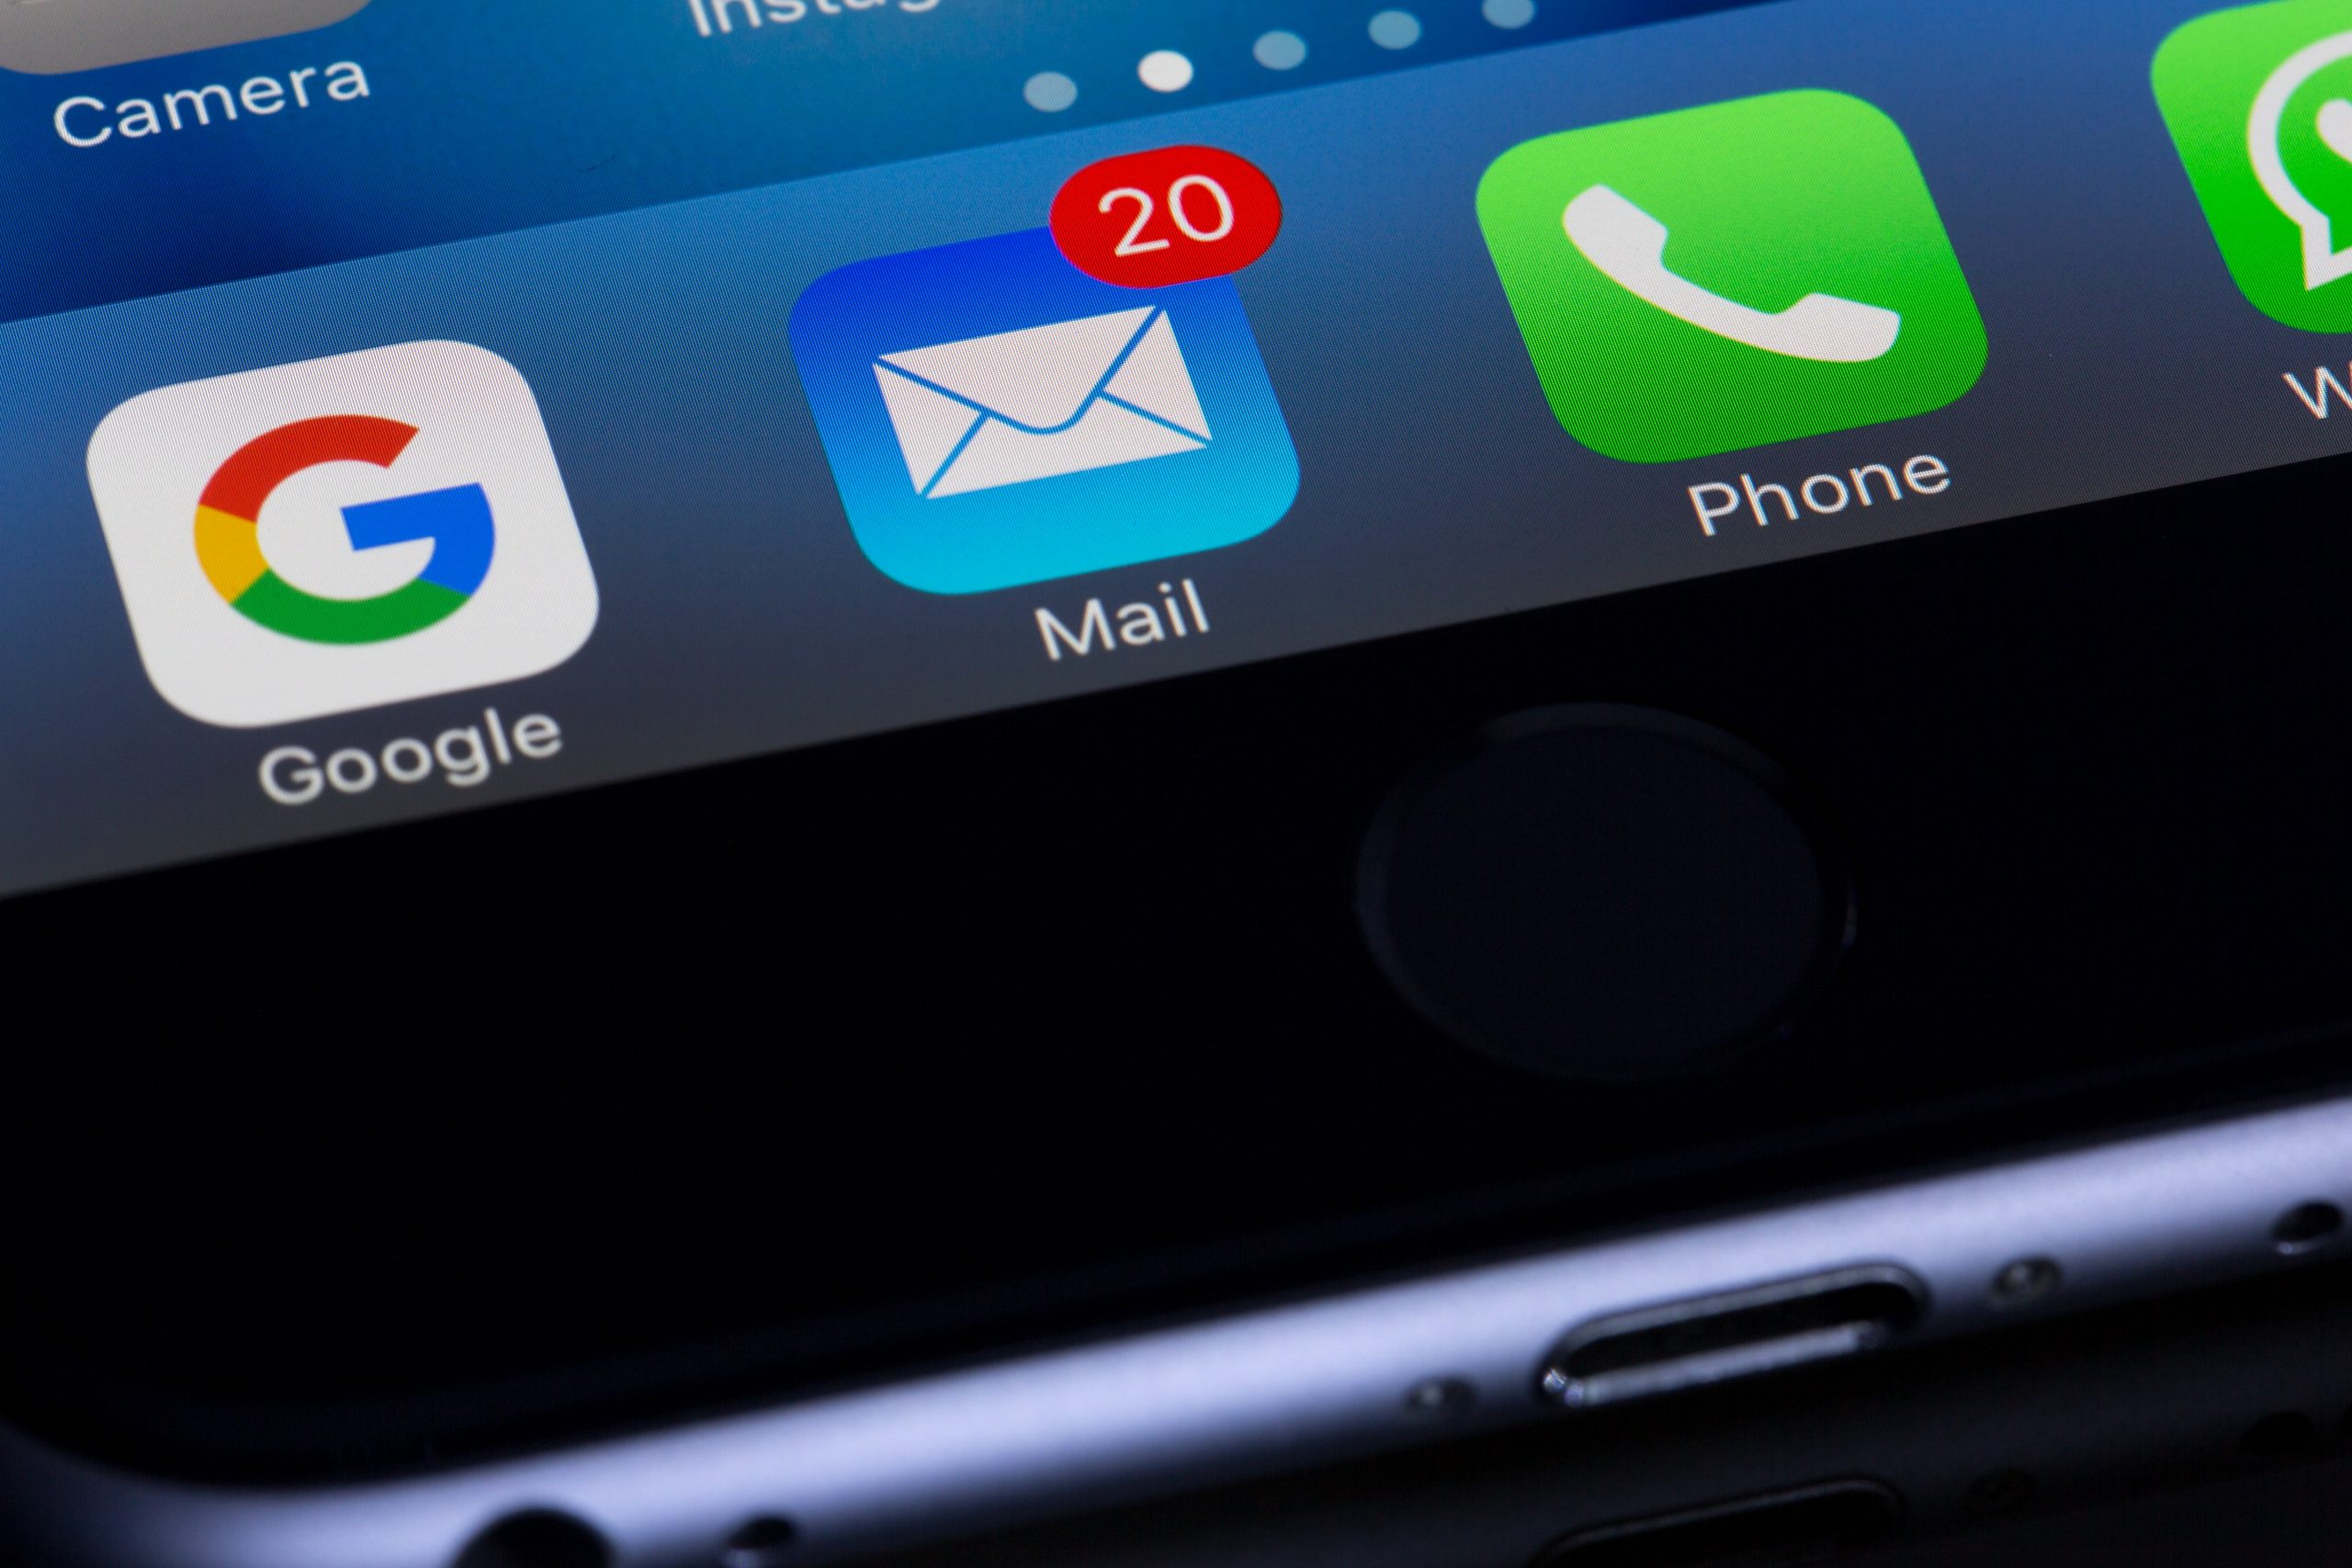
Open up Gmail on your Android phone.
Tap on your profile picture, then select Add another account. You may need to scroll down if you already have numerous Gmail accounts.
Under Establish email, scroll down as well as tap Other.
Under Add your email address, enter your e-mail address in the space provided.
Click NEXT.
The majority of mail clients will automatically configure your account.
If automatic arrangement falls short, tap MANUAL SETUP and also input the adhering to port numbers by hand when triggered:
Inbound Web Server: IMAP Port: 993, POP3 Port: 995
Outgoing Server: SMTP Port: 465
Configure Your Account
You will be asked, what sort of account is this? Select either Personal (POP3) or Personal (IMAP). If you’re uncertain which to pick, visit to your cPanel account and also check which protocol your preferred webmail customer deals with. Roundcube, SquirrelMail, as well as Webmail Lite all usage IMAP. Or check the assistance pages of your e-mail carrier.
For this setup, we will certainly pick IMAP. You shouldn’t spend all the time trying to make a decision which e-mail procedure to choose for your inbound server setups. You can constantly switch over between POP3 and also IMAP as your requirements transform in the future.
After choosing your favored procedure, you can now input your password in the area provided, after that touch the NEXT switch.
On the next web page, examine your Incoming web server settings and also faucet NEXT.
Under Outward bound web server setups, touch the toggle button to turn off Require sign-in or leave as is if you desire your mail customer to require sign-in each time you access your mail.
Go on and also tap NEXT.
Adjust the Account Settings
Under Account options, tap the down arrowhead to select your Sync regularity. It is readied to refresh Every 15 mins by default. You can adjust this later if you want.
Settings like Alert me when emails arrive, Sync email for this account, and also Instantly download and install accessories when attached to Wi-Fi, are your default account setups. You can use the checkboxes to transform any one of these setups.
Tap NEXT.
Your account is now created. You will certainly see a congratulatory message at the top of the page notifying you that your emails are on the way. In the area offered, enter your name as you desire it displayed in outgoing messages, then tap NEXT to complete the configuration.
You must get an email with your client arrangement setups. Conserve this message in case you need to change your favored protocol in the future.
Thank for Reading.
Get the Email free with Web hosting from Heroxhost