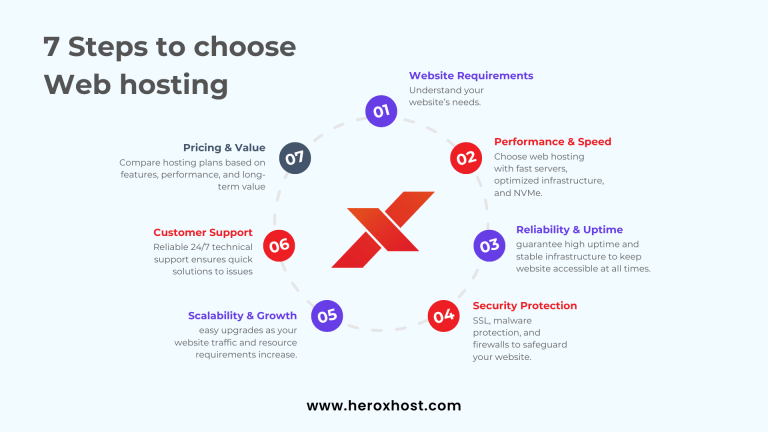
In today’s fast-moving digital world, scalability is more important than ever, especially for websites. Whether you’re a blogger, entrepreneur, or business owner, your website needs to grow with your audience, handle traffic spikes, and remain available at all times.
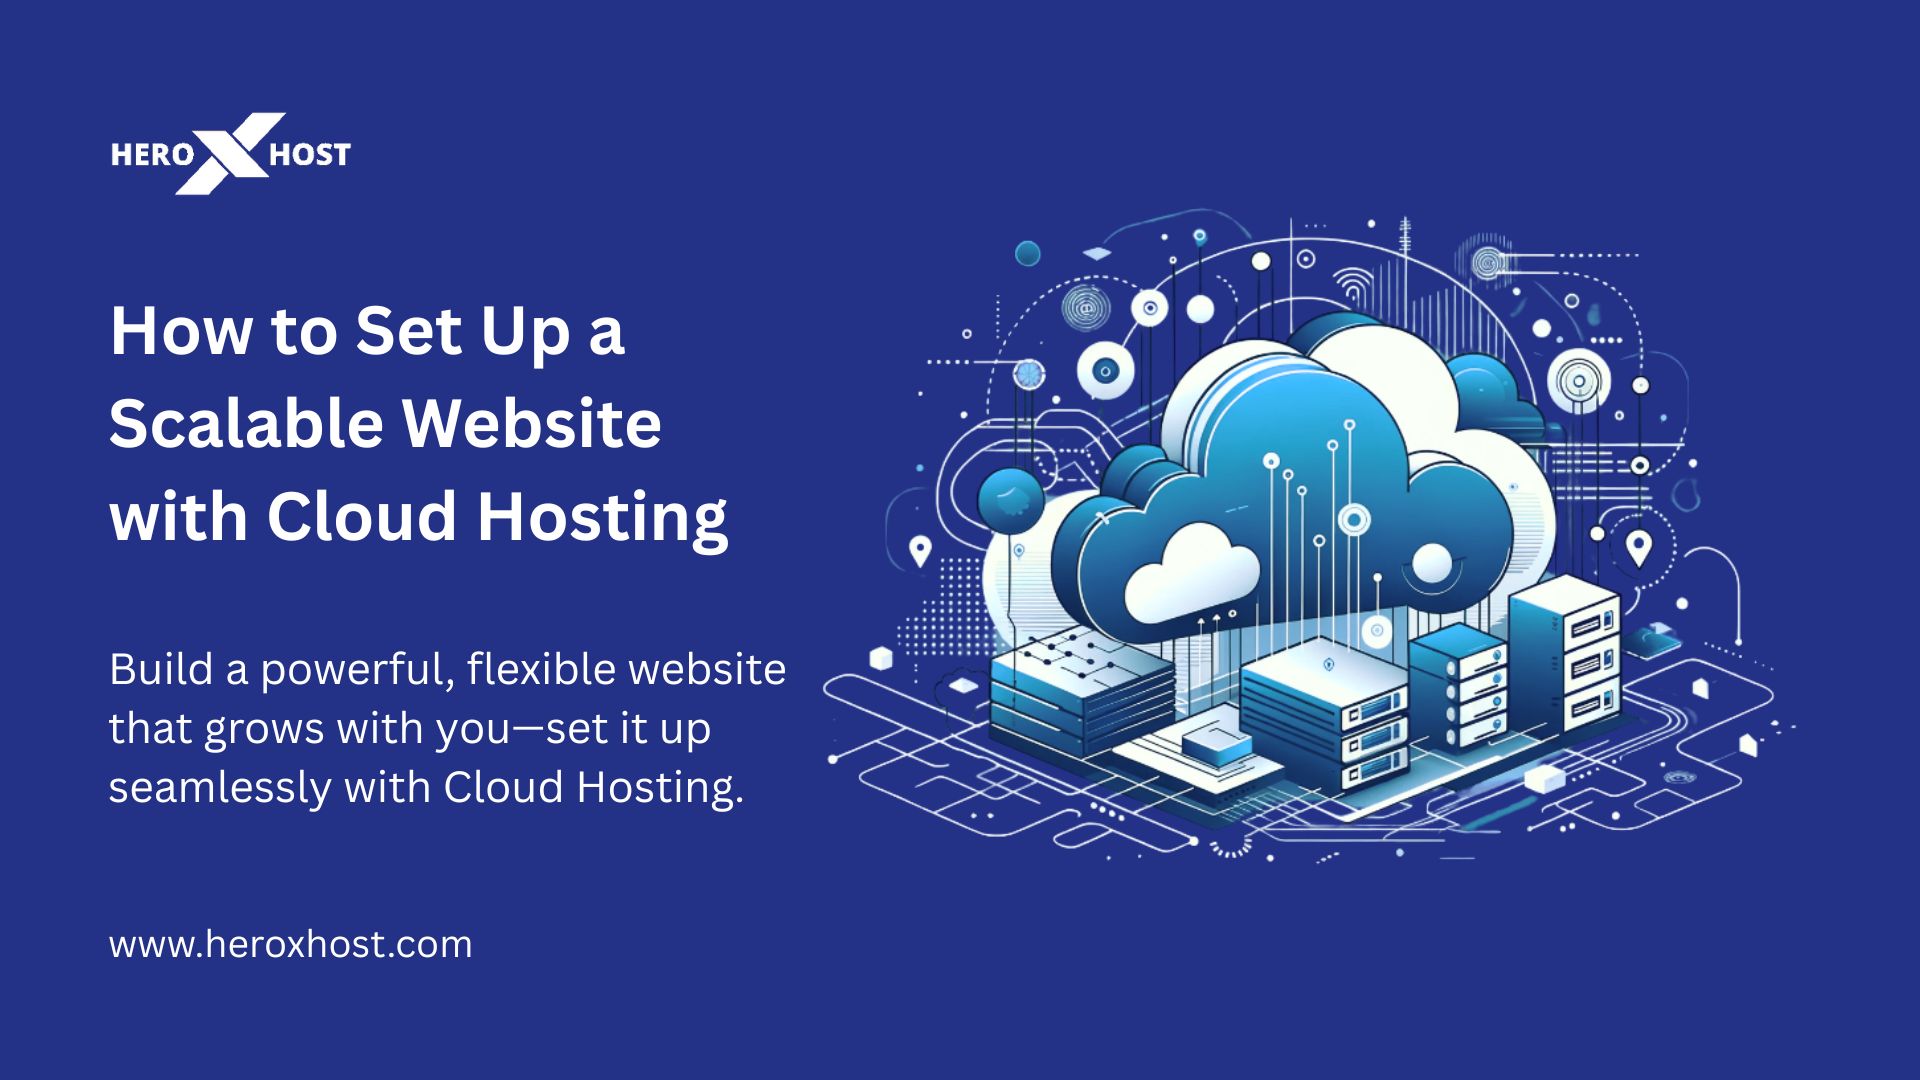
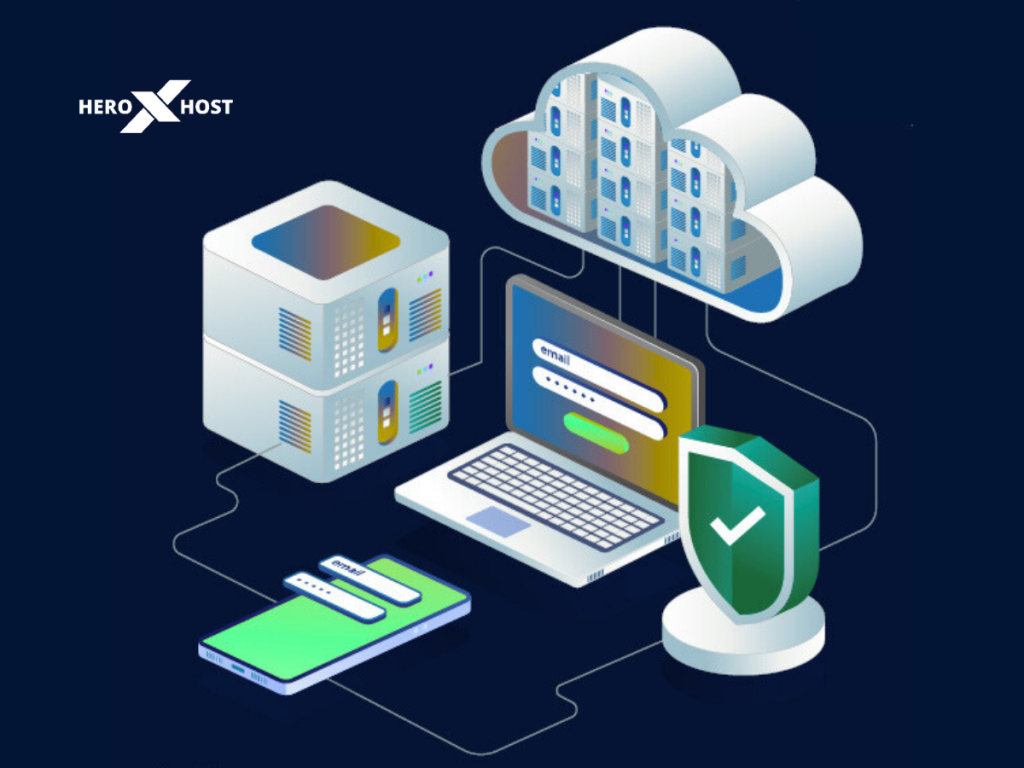
That’s where Cloud Hosting comes into play. It’s not just a buzzword—it’s the foundation of modern, flexible, and powerful websites. Cloud hosting uses a network of interconnected servers, offering better speed, improved uptime, and effortless scalability compared to traditional hosting.
In this blog, we’ll guide you step by step on how to set up a scalable website using Cloud Hosting, so your site can grow effortlessly with your goals.
What is Cloud Hosting?
Cloud Hosting is a type of web hosting that uses a network of interconnected virtual servers to store and manage your website data. Instead of relying on a single server, cloud hosting spreads the load across multiple machines.
This setup offers key benefits:
-
High availability – if one server goes down, others keep your site live.
-
Scalability – easily upgrade resources like CPU and RAM as traffic grows.
-
Improved speed – distribute traffic across servers to reduce load times.
With providers like HeroXHost, you get reliable cloud infrastructure with excellent performance, security, and expert support.
Steps to Set Up a Scalable Website with Cloud Hosting
Step 1: Choose the Right Cloud Hosting Provider
Your journey starts with selecting a reliable and performance-oriented cloud hosting provider. Look for one that offers:
-
Easy scalability
-
99.9% uptime guarantee
-
SSD storage
-
24/7 support
-
Advanced security features
-
Competitive pricing
HeroXHost provides flexible cloud hosting packages that cater to websites of all sizes—from startups to growing enterprises.
Step 2: Select the Right Hosting Plan
Evaluate your website’s current traffic, expected growth, and technical requirements. Choose a plan that gives you enough resources today, with the flexibility to scale tomorrow.
Key things to consider:
-
Storage space
-
Bandwidth limits
-
CPU and RAM allocation
-
Number of domains and subdomains supported
You can always start small and scale up as your audience grows.
Step 3: Register a Domain Name
If you don’t already have one, register a domain name that matches your brand or business. Many cloud hosting providers, including HeroXHost, offer free domain registration with select plans.
Make sure your domain is:
-
Easy to remember
-
Short and relevant
-
Includes keywords, if possible
Step 4: Connect Your Domain to the Hosting
Once you have both your cloud hosting and domain, it’s time to connect the two. You can do this by updating your DNS settings to point to your hosting provider’s servers.
If you’re unsure how to do this, HeroXHost provides step-by-step support or even does it for you as part of the onboarding.
Step 5: Install a CMS like WordPress
For most websites, using a Content Management System (CMS) like WordPress makes managing content easy without needing to code.
With HeroXHost’s cloud hosting, you get 1-click WordPress installation and optimized performance settings for speed and security.
You can also choose from other supported platforms like Joomla, Drupal, and Magento—perfect for building content-rich or e-commerce websites.
Step 6: Optimize for Speed and Performance
A scalable website must also be fast. Here’s how you can optimize it:
-
Use a Content Delivery Network (CDN) to load content faster across regions.
-
Enable browser caching and gzip compression.
-
Choose lightweight themes and plugins.
-
Keep your CMS and plugins updated regularly to ensure optimal performance and security.
HeroXHost’s cloud hosting comes with built-in caching tools and global CDN support to boost your site’s speed.
Step 7: Set Up Auto-Scaling and Monitoring
Auto-scaling allows your hosting environment to automatically allocate more resources during traffic spikes and scale down when traffic is low.
Some features to enable or ask your provider about:
-
Auto-scaling triggers for traffic loads
-
Real-time performance monitoring
-
Alerts for CPU, RAM, or bandwidth usage
With HeroXHost, you can track your website’s performance in real-time and scale with a few clicks when needed.
Step 8: Backup and Secure Your Website
Scalability is meaningless without security. Cloud Hosting must include:
-
Automated daily backups
-
DDoS protection
-
SSL certificates
-
Firewall integration
-
Two-factor authentication (2FA)
With regular backups, you can quickly restore your website in case of data loss, system errors, or security breaches.
Step 9: Launch and Monitor
Now you’re ready to go live! Launch your website and keep an eye on key performance metrics like:
-
Page load speed
-
Bounce rate
-
Uptime
-
Server load
As your traffic grows, monitor your resource usage and upgrade your plan or features as needed.
Frequently Asked Questions
Q1: Is Cloud Hosting good for small websites?
A: Absolutely. Cloud Hosting allows small sites to start with minimal resources and scale up as they grow—perfect for startups and blogs.
Q2: Do I need technical knowledge to use Cloud Hosting?
A: Not at all. Providers like HeroXHost offer easy-to-use dashboards, 1-click installations, and expert support to help you manage everything smoothly.
Q3: Can I upgrade my cloud hosting plan anytime?
A: Yes, one of the biggest advantages of Cloud Hosting is flexibility. You can upgrade your resources anytime as your website demands increase.
Q4: Is Cloud Hosting secure?
A: Yes, it includes advanced security measures like SSL, DDoS protection, firewall, and daily backups to keep your site safe.